For a list of articles in this series, go here: How To Set Up A Blog and Forum Article Index
Welcome to part ten (and the end of section one) of How To Set Up A Blog And Forum.
Today we will set up Posts, Pages, and a couple of last Defaults for our WordPress blog.
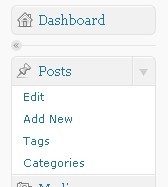
The first thing we should do is to create some categories (general topics) that our blog posts would go under. This will help us later as well. So on the Dashboard under ‘Posts’ you will see ‘Categories’:
categories 1
The category creation screen (sounds impressive doesn’t it? I made that up), as with many screens, is actually reasonably self-explanatory:
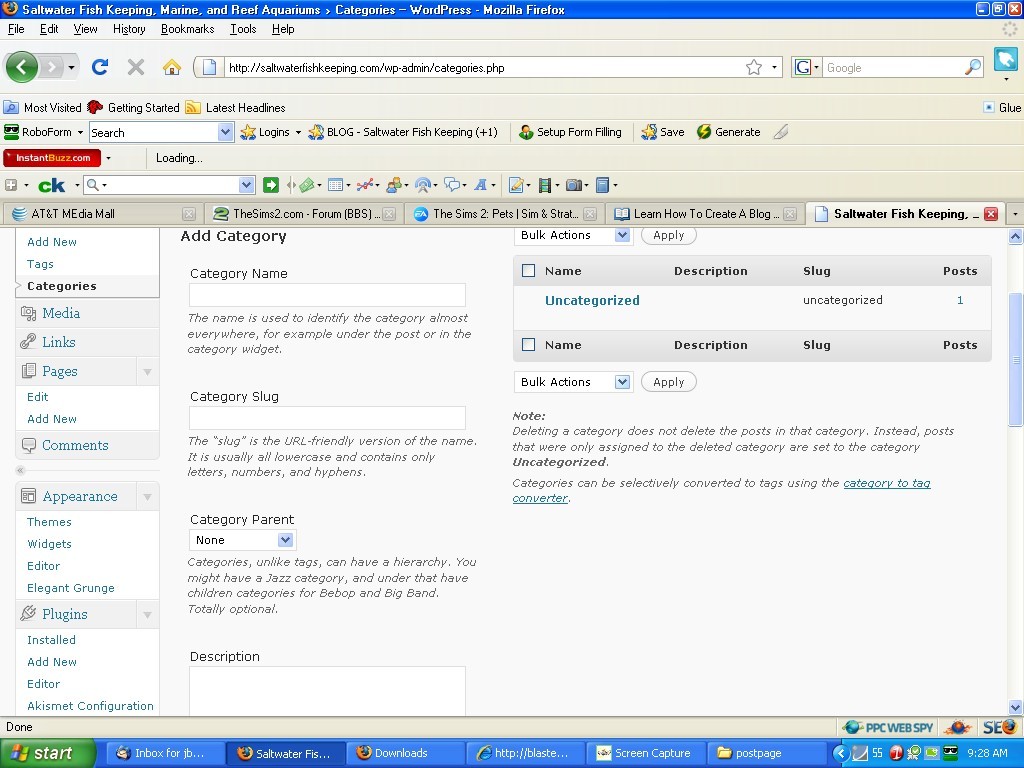
categories 2
So what are good categories for this blog? Anemones is one of the first things I think of along with coral. So do I want a category called anemones and another called coral?
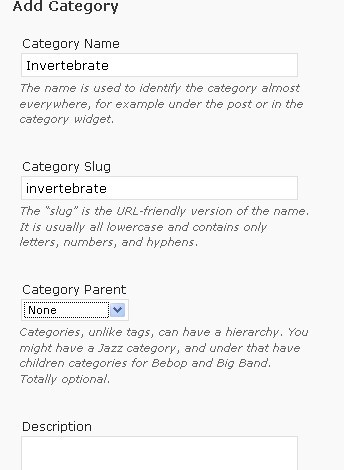
If you know anything about the hobby, you know that a category about coral is a good idea, but not necessarily about anemones. I don’t want to leave anemones out, so what to do? Well, I simply add a category for all invertebrate and I choose to call it ‘Invertebrate’. I know, I’m very original. The point is to have something meaningful and this is meaningful to both the hobbyists, or enthusiasts if you prefer, AND the search engines, so there.
categories 3
The category name is pretty obvious, but what about the slug? It’s the same thing isn’t it? Well, if you’ve read the fine print you see that it’s not. The category name is for people, the category slug is part of the URL.
The slug needs to be made up of nothing but all lower-case letters, numbers, hyphens, and it needs to be one word. So if your category name was ‘This is where my posts about poems are’ the slug would be ‘thisiswheremypostsaboutpoemsare’
Technically the slug doesn’t have to be the category name, but I don’t know why you wouldn’t want it the same. In our example however, the category name is…um…awkward at best and the slug could simply be ‘poems’ which does make the url shorter.
categories 4
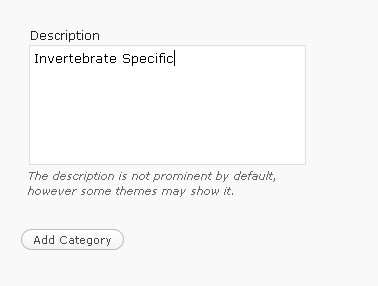
A description is optional, but good to have if your chosen theme supports it (not all do). Sometimes a category is so painfully obvious that a description is redundant, but it might make a difference to a search engine somewhere.
It also gives you a chance to expand on something. For example, in our fictional-yet-awkward category we could have the category name be ‘Poems’, the slug be ‘poem’, and the description as ‘This is where my posts about poems are’
We click on ‘add category’ for our real category and the screen is updated for us to reflect the fact that we have a new category:
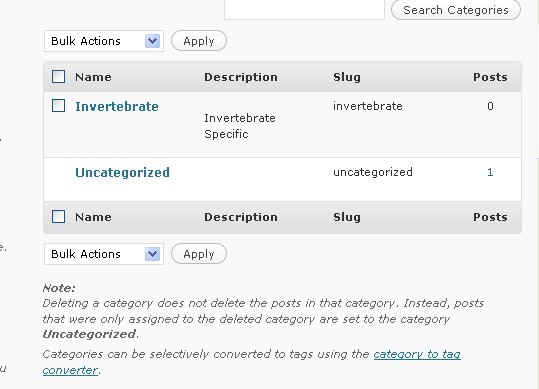
categories 5
I have not forgotten about ‘Category Parent’. That’s one of those annoying things that took me a while to figure out what I would want it for. It basically allows a category to be a subcategory instead of a main category.
I rarely have had a need for a subcategory, but that’s me, you may need them, they can help keep things straight. For example, we could have a category called ‘anemones’ under invertebrate and ‘corals’ could be either a parent category (main category) or we could put it under ‘invertebrate’ as well.
I created a category/subcategory for this tutorial, I chose to create a category called ‘aquarium setup’ for posts related to (surprisingly enough) setting up your aquarium. Some people prefer the term ‘tank’ so I created a subcategory ‘tank setup’ to be under ‘aquarium setup’ for those who like to be difficult (don’t roll your eyes at me).
Why didn’t I use the above ‘anemones’ and ‘corals’ under ‘invertebrate’ example to demonstrate this? I’m so glad you asked. It was an afterthought. I went through the steps, took screenshots as I went, and then wrote the post after I had the screenshots.
So at the time, that ‘tank’ idea is what came to me while I was doing the screenshots and when I wrote this post and came up with the ‘anemone’ idea I simply didn’t want to go back, get more screenshots and do the whole upload, insert, name the picture ordeal again.
Yes, I’m lazy, but I’m a helpful sort of lazy…. Anyway, the next screenshot is what I was talking about. You create the parent category and then when you create a subcategory, it’s exactly the same except you use the ‘parent category’ dropdown to pick the category your new category should go under.
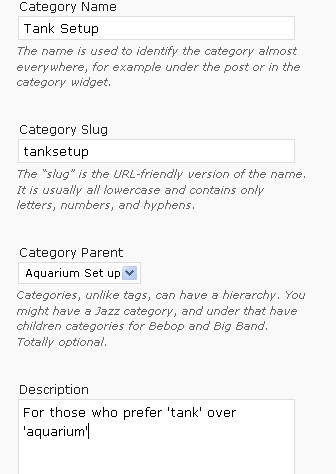
categories 6
And this is what it looks like after you click ‘add category’:
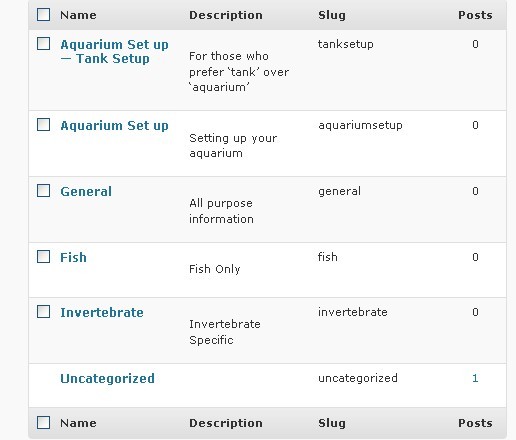
categories 7
You can (and should) also add categories for your links. Under your Dashboard, find your links menu and click on ‘link categories’:
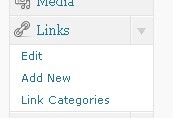
links 1
Below is the screenshot of the menu. It’s almost identical to the ‘posts’ category creation screen:
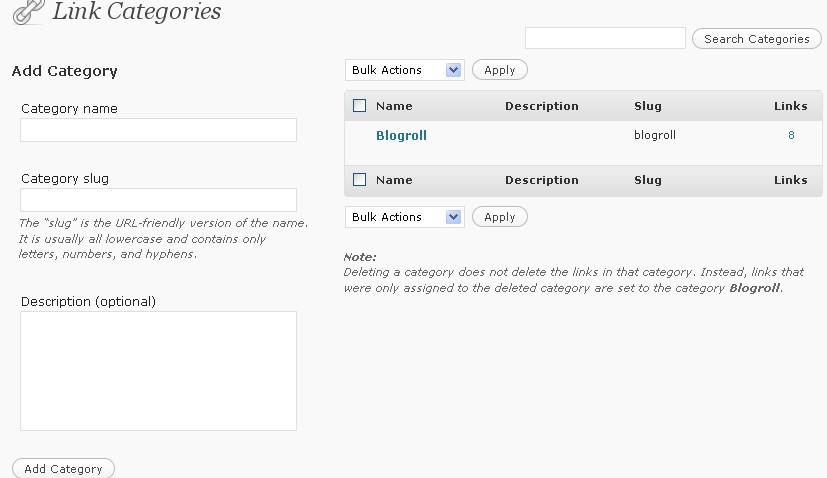
links 2
Instead of ‘blogroll’ I want something a little more obvious. What’s a blogroll? A collection of website links. So here’s my chosen new category:
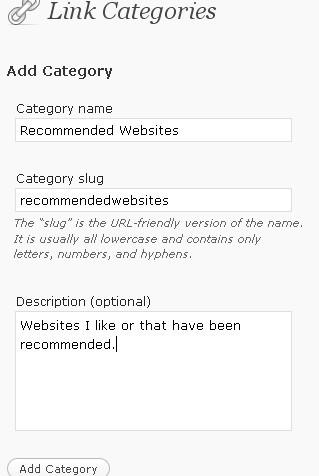
links 4
You can add as many categories for links as you’d like. You can have a category for ‘My Websites’ and one for ‘Blogs I read’ and even one for ‘Jeffery is the greatest and here’s his blog’…..
Ahem, here’s the updated screen:

links 5
The default category for posts is ‘uncategorized’ and the default category for links is ‘blogroll’. These defaults should be changed which is part of the reason we just went through all of that.
Under your Dashboard, under ‘Settings’ click on ‘Writing’. Here’s the screen you will see:
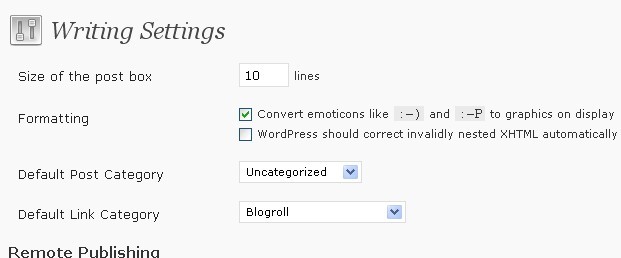
default links
Use the dropdown menues to change the default post and link categories and click on the save button, and here’s what you get (if you used the exact names I did anyway):
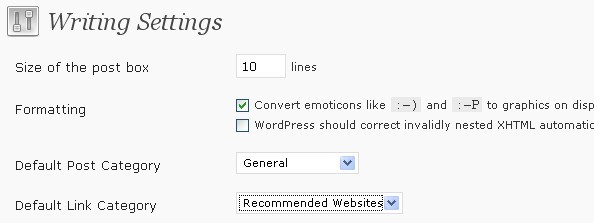
default general
Let’s go through our first post. Now the post is somewhat obvious, but that pesky “all-in-one seo pack’ plugin which we configured a couple of posts ago also gets configured for each and every single post and page we create.
Go to your posts menu and click on ‘add new’:
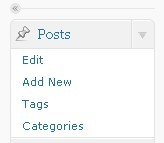
post 1
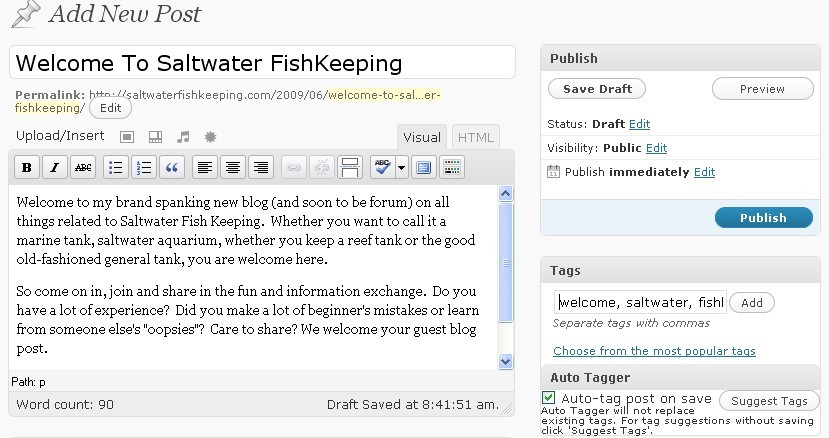
Below you see that I’ve entered a title, tags, and a real post (not just made up for this tutorial). You will also note that the posts screen has a visual tab and an html tab. They are exactly that. The visual tab gives you the WYSIWYG (What You See Is What You Get) and the html tab is where you can enter html code. Personally, I tend to flip between the two depending on what I’m doing:
post 2
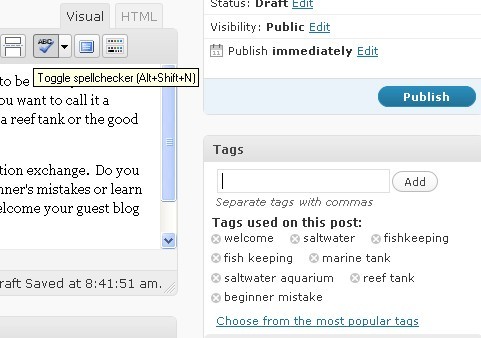
Below is a screenshot of what you see after you’ve entered your tags (keywords) and clicked on ‘add’. I recommend you do this last, I’ll explain in a moment.
post 3
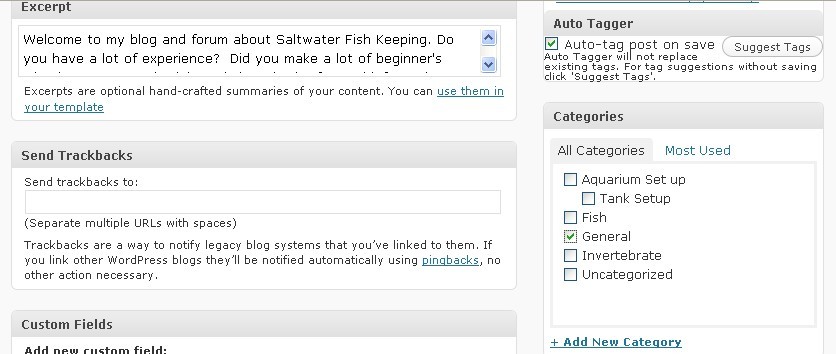
Okay, below is more of the post (give me a break, I can’t take a screenshot of the entire page). Trackbacks are for sending a notice to another blog that you’ve referenced them. The excerpt is a summary of what your post is, just a few lines will do, put a checkmark in the appropriate categories (you can pick as many as apply), I have auto tagger set to add tags on save.
The excerpt is not a straight copy from the post. It’s been edited/modified to whatever makes sense to me. It will definately have less than the post and can have things in it that are not in the post. You may, for example, reword several sentances into one or two added what is needed to give the idea but they still need to read the post for the details.
post 4
Add custom fields if you wish to help the search engines along by adding extra metadate to your post. I usually leave this alone, but again, that’s me. Check or uncheck the comments and pingback spots (unless you have a specific reason not to, I’d leave them checked), change the author if need be (if you are manually adding a post for a guest author for example):
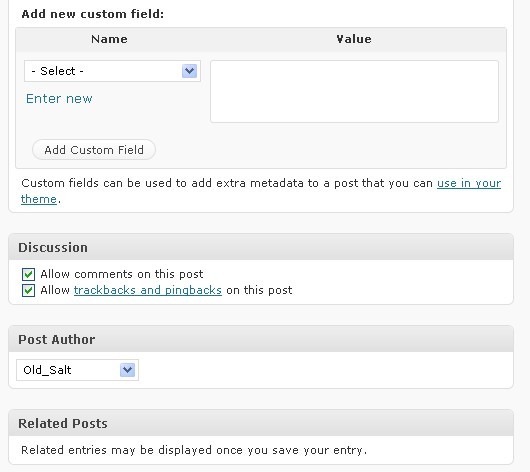
post 5
And here’s the important part: Copy/paste your title into the “All-in-one SEO Pack” title, your exerpt into it’s description and enter your tags. Now remember when I said up above to do those tags last? Here’s why, if you enter them up there and click ‘add’ you cannot easily copy/paste them here.
Enter them here, then copy/paste them up there and then click on ‘add’.
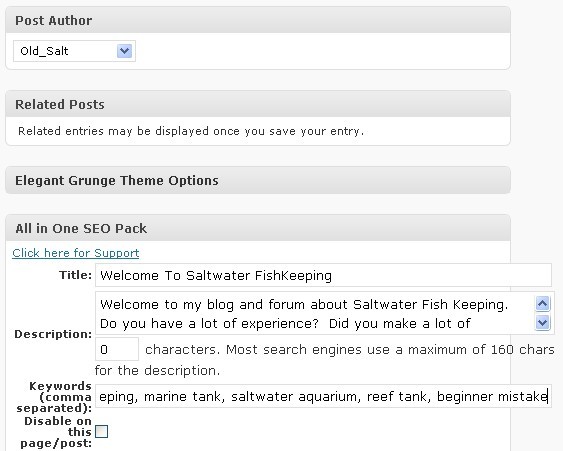
post 6
Check the disable box if you have a reason that you don’t want your post SEO optimized, go to the top left of the page and look for this box:
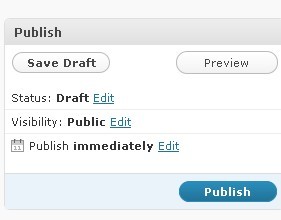
post 7
Click on publish and you will see that box turn into:
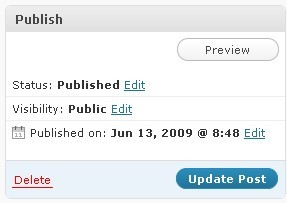
post 8
Congratulations on not only your first post, but your first SEO optimized post.
Editing an already published post isn’t a big deal. You click on ‘edit’ instead of ‘add new’, make your changes, then click on ‘update post’.
Now let’s redo my static Welcome page. I’m doing this because I want the visitors to have something more helpful than what they have and I liked how I worded things in my first post much better, so I can copy/paste from the post to the page.
On your Dashboard under ‘Pages’ we click on ‘edit’ (or ‘add new’ if you’re creating a new page)

page 1
We pick the page to edit (there’s several, I only did a snapshot of the one title)
![]()
page 2
And here it is for our editing purposes:

page 3
There’s so little difference between the ‘posts’ and ‘pages’ that I’m not going to go over it any more than that. Click on ‘publish’ or on ‘update’ when you are done.
Here’s a screenshot of the latest and greatest from the visitor’s point of view:
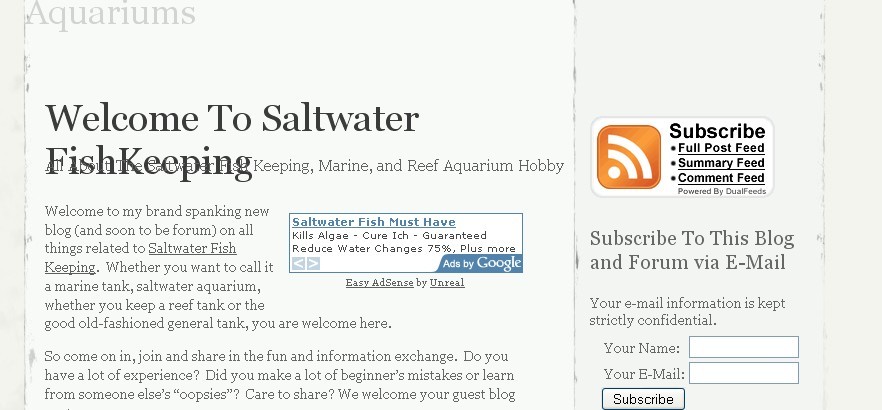
welcome
I still need to fix that overwrite problem. Anytime you are not done writing a new post or page, just click on ‘Save Draft’ and go back to it later.
Next time, unless I need to add to the blog part of this series, we will start on our two forums. Yes, I said two, there’s two (at least) different ways of doing a forum and I’m going over both (one at a time).
So go forth and blog to your hearts content, or until your mom tells you it’s dinner time….
– Jeffery
