For a list of articles in this series, go here: How To Set Up A Blog and Forum Article Index
Welcome to part eight of How To Set Up A Blog And Forum
This is a continuation of part seven as part seven would have been huge. You can read part seven here: How To Set Up A Blog And Forum – Configuring Plugins Today we will finish configuring plugins for WordPress.
We will start this section with configuring Easy Adsenser:
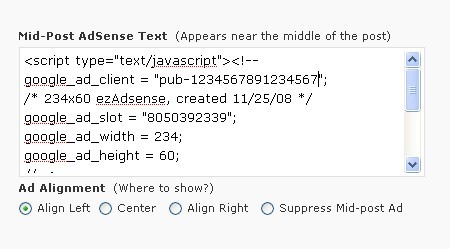
Easy Adsenser will display ads from Google that are either related to the content of your post (as best as Google can determine) or a public service ad if Google can’t decide.
You get paid for every click on whatever ad (if any) that your visitors click on. It could be anywhere from a few cents per click or a few dollars per click. Google decides that, you don’t.
Each block represents where in your post that ad will appear and yes, there is a block for Google search should you choose to use it.
You simply replace the above ‘PUB-1234567891234567′ or whatever the default number is, with your own Adsense code (get it from Google if you haven’t already). I’d replace it in each block whether you are going to use that particular block or not. It just saves you a bit of work later should you change your mind.
The other thing is to pick your alignment if you are going to show the ad, or pick ’suppress’ if you don’t want that particular block to appear.
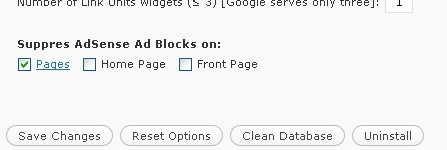
Here you can suppress the ads from appearing on all pages, the front page, the home page or you can clear the boxes and have them appear on all your pages. That’s ‘pages’, not posts….
Set your other options as you wish and you are ready to go. The only thing I’ve noticed, and maybe it only happens on my blog, is that whenever I update the plugin, the PUB number is reset and I need to correct it. Just check each time you update to be on the safe side….
Now on to Akismet:

Akismet is that spam filter that requires the api key from WordPress.com. Again, don’t create a blog there, just create an account for the api.
Above you can see the top right of my dashboard at WordPress.com I click on ‘celebrityblogging’ (obviously you would click on YOUR account’s name) and it will take me to the screen that has my WordPress API number:

I have mine blacked out for security reasons. You simply copy/paste (or write it down and retype) that number into your blog. You will find it on your blog’s dashboard, under ‘Plugins’ under ‘Akismet Configuration’.
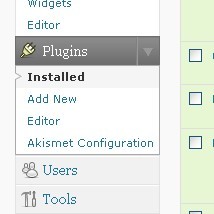
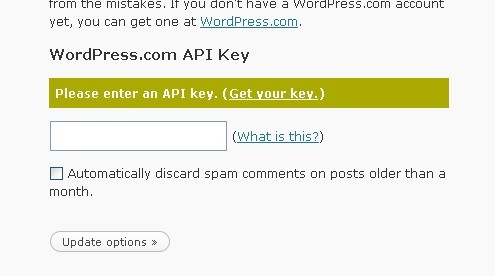
Enter or paste your api key in the blank, check the box if you wish and update. It will double check to see if you entered a valid key.

That’s all there is to it. Now on to a very useful plugin called Cross Linker:
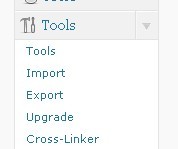
As you can see, you get to it through your ‘Tools’ menu.
Cross Linker is a great plugin. In your posts, doing it the old way, anytime you want to put a clickable link you have to type in the word or phrase, click on the link button and type in the url EACH TIME you want that word or phrase to be clickable.
With Cross Linker, you enter that information into the plugin ONCE and EVERY time in EVERY post that you type that keyword or phrase, Cross Linker will make it clickable AUTOMATICALLY.
Can you tell that I really love that plugin?
It also means that anytime you need to change the url of something, you only have to change it once in one place and you do NOT have to go back through every post. Neat huh?

If you downloaded the latest version, then you have the newer core. Yes, you do need to pick one and click on ‘Select’

It’s hard to see, but the top blank is where your trigger word or phrase goes, the next is where the url goes and the last is any options, like if you want it to open in a new window.
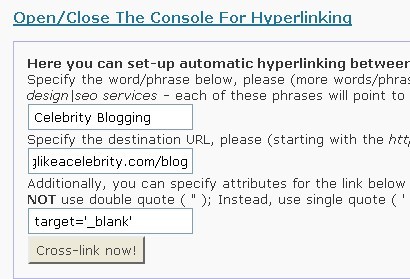
There’s an example, everytime I type ‘Celebrity Blogging’ Cross Linker will make that a clickable link for http://www.bloglikeacelebrity.com (that’s my now defunct blog) and it will do so into a new window. Press ‘Cross-link Now!’ and add in the next one.
The different menu screens allow you to do some different things. You can import links from an existing Cross Linker (so if you start another blog you don’t have to retype all of it), export links, etc.
Now on to Commentluv:
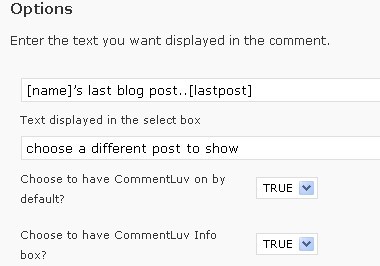
When someone leave a comment on your blog, Commentluv allows them to put a link back to the latest post on their blog. You really just activate this one, the options are for style and other appearances. I have included screenshots for your viewing pleasure.

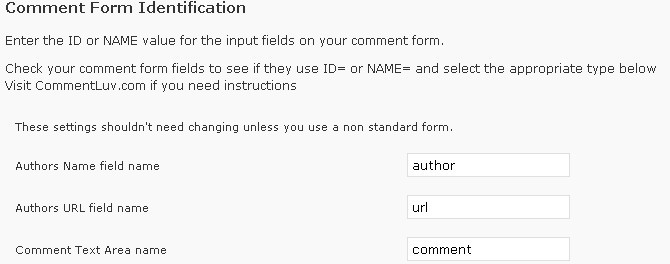

Here you can choose to show the world that you use Commentluv. Whether it helps get you more comments or not I don’t really know.

If you are a member of the Commentluv community enter your id here otherwise leave it blank.
Now on to Cloaked Links which is under ‘Tools’:
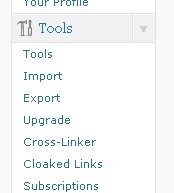
Cloaked Links allows you to disguise affiliate links so that affiliate commission stealers have a harder time stealing your commissions. It also will disguise other links.
Please note, it is not designed to hide the fact that you are an affiliate, it’s simply to make it harder for someone to steal your commissions.

You can use it a couple of ways. One is that you can use it to disguise a specific url. Just enter its name and it’s url in the ‘Static Cloaked Links’ area.

You can choose where to cloak the links.

You can cloak all links or just some links

And you can list exceptions. After all, why would you need to cloak a link from your blog to your blog? Why cloak a link to Google or Yahoo? You can, but why?
Now on to Autotagger:
![]()
I have a love/hate relationship with autotagger. What it does is go through your post and automatically pick tags or keywords for you. It will not overwrite tags you’ve already selected and adds them whenever you click on ’save’ or ‘publish’.
What don’t I like about it? Two things. One is that it will pick the tags when you aren’t ready. For example, in writing this post, every time I’ve picked ’save draft’ it gets keywords. I have changed and removed some things so those “keywords” aren’t in the post anymore.
I’d like to be able to configure it so that it only gives tags when you click on ‘publish’ or ‘update post’. You can change it so that it won’t do it automatically when you save, you can have it simply suggest tags, but that doesn’t fix the issue for me.
The other thing I don’t like is that it will pick words that I don’t think should be keywords. For example, when I put ‘dashboard’ it will pick that for a tag. I don’t want that as a tag as there’s tons of dashboards that have nothing to do with WordPress. I want specific, not general, keywords. But that’s me. It’s a poor example, there’s better ones I could show you, but you get the idea I think.
Well, I think that’s all of the plugins. What do we do now? Well, I go take some aspirin because this has been a headache while you go finish configuring your plugins.
Next time we will go to the ‘Widgets’ section and pick and choose some things to go onto the blog for the visitors to see. A lot of widgets are personal preference, so it will be a matter of taste and what you personally want to do.
– Jeffery
