For a list of articles in this series, go here: How To Set Up A Blog and Forum Article Index
Welcome to part five of How To Set Up A WordPress Blog And Forum.
First we will install WordPress, get it set up and then we will look at installing and setting up the forum. For the purposes of this blog we will use Fantastico at HostGator.
There are pros and cons to using Fantastico over installing it yourself. Sometime I may go and show you how to set it up without using Fantastico, but for now, this is what we are doing.
I purchased the domain name http://saltwaterfishkeeping.com and grabbed a lens at Squidoo while I was at it
[UPDATE: Squidoo was bought by HubPages and my page was not copied over so I removed the link]
Though I recommended GoDaddy for purchasing your domain, I did that mainly for cost. It’s around $11.00 USD for a domain name there.
[UPDATE: I no longer recommend GoDaddy for domain names though I do keep a couple there. It's really cheap for your first year but the price went up considerably. I use NameCheap for most of my domain purchases now.]
Now I probably could have chosen something that had better keyword searches, but this one has a few qualities that suite me. For one thing, it’s very self-explanatory. Everyone who sees it will know instantly what it’s about. It’s also versatile, it can refer to a hobby site, like we are doing, or a DIY store or anything related to the hobby. Lastly, it serves me because I’m lazy and I didn’t want to keep looking once I came up with this one. ![]()
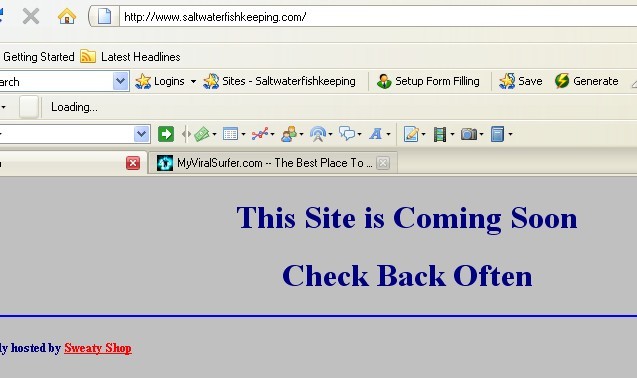
Here’s the site in it’s raw state:
So once you’ve gotten yourself a hosting account, log into your site’s account. If you’ve gone through HostGator then you have the Fantastico control panel. It’s on the main page:
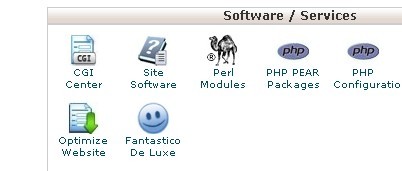
If you click on it, you see the following screen:

Under the heading “Blogs” you will see a few options, click on WordPress and you will be taken to this screen:
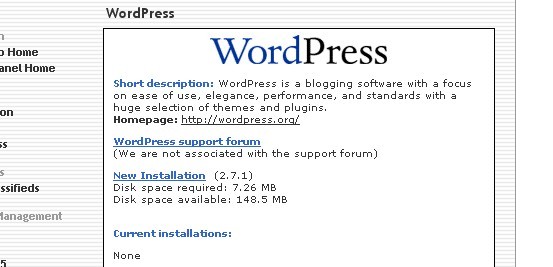
This shows you important details about the install. It gives a brief description of what WordPress is and does, a link to WordPress support with a note stating that HostGator is not associated with the WordPress support (no host is, as far as I know).
It shows that this would be a new install. If you already had WordPress installed, it would tell you that as well. You can have multiple installs of WordPress. You could have your website as one WordPress Install and your blog as a seperate install into it’s own directory. You could have multiple blogs on the same website.
The more important information is how much room it will take and how much room you have to spare. Please make sure you have enough. The starter package on HostGator is plenty big for our purposes.
Once you’ve clicked on new installation, you come to this screen:
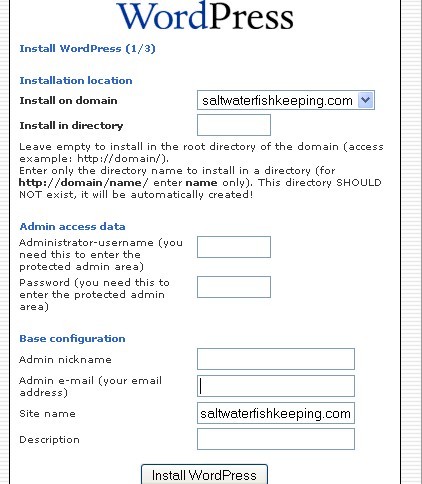
Here’s where you get to choose the installation options, such as they are. You get to choose where to install it and what directory. If you want this to be the first thing people see when they come to your site, then leave the directory field blank. If you want people to come to a regular index.html file then just create a subdirectory to install this into.
Don’t worry, all you have to do is enter the name of the directory, Fantastico will do the rest. I installed it into the main directory, but if you wanted it in a directory called “blog” then you’d just enter ‘blog’ into the field, no slash marks, quotes or anything else. This would give a URL of
Choose an administrator’s username and password. This is what you need to get into the blog itself. Then choose a nickname and e-mail address for the admin. The nickname is what visitors will see when you post anything, the e-mail will be used by the blog to notify you of things that happen on your blog, new comments, things that need moderation, etc.
Many people default to ‘admin’ or ‘administrator’ for the nickname, but you can use anything you want, and you SHOULD NOT use ‘admin' or ‘administrator'. It picks your website’s e-mail automatically, but you can change it. In fact I’ve changed this one so that all e-mails from WordPress goes to a special e-mail address for all of my blogs.
Once you are satisfied, or as satisfied as you think you will ever be, click on install, then you come to this screen:
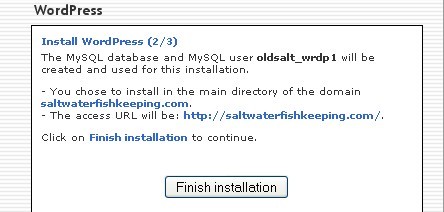
This just sums up what’s about to happen and gives you another chance to not do it. Click on ‘finish Installation’ and it sends you to one more screen with a question:
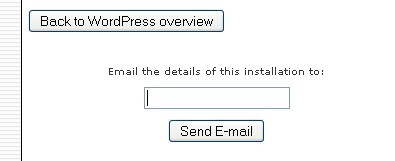
This allows you to e-mail the installation results to an e-mail address of your choice. It is only used this once and you are asked this question everytime you install something through Fantastico.
Once you click ’send e-mail’, your WordPress is installed, the details are e-mailed to you and you can now setup WordPress. Log out of your site and go to your WordPress login page.
So if you put your blog into a subdirectory called “blog” it would be If you put it into the main directory it would be
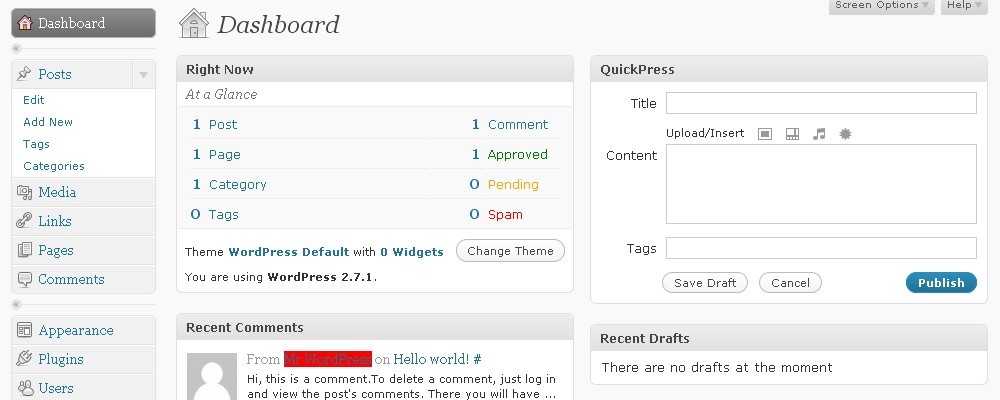
Log in with the administrator’s username (not the nickname) and password and look at your brand new blog’s dashboard:
Next time we will setup the blog and install some basic plugins.
– Jeffery

